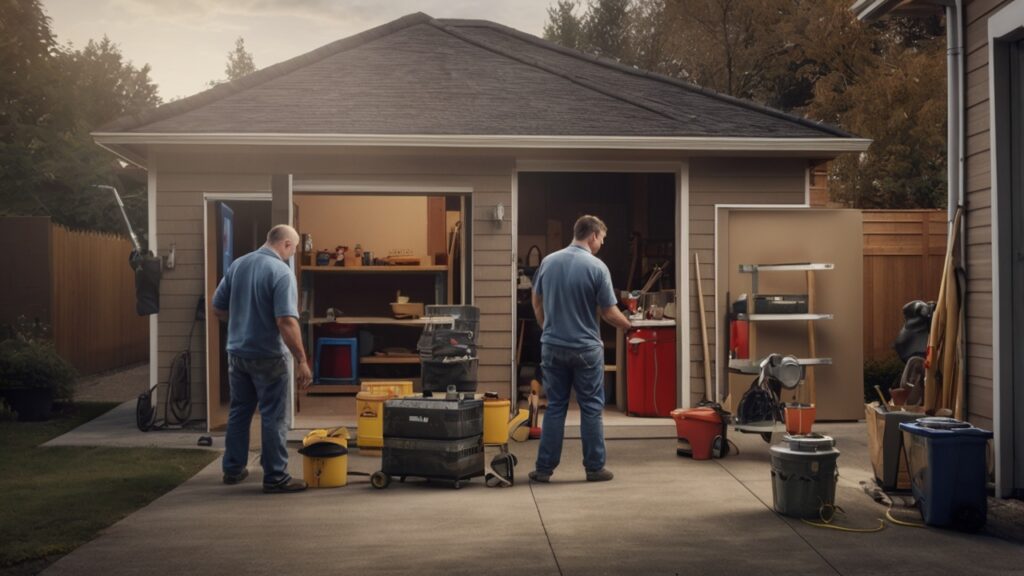
A small strip of rubber at the bottom of your garage door might not look like much, but once it wears out, bigger problems follow. Energy leaks, creepy crawlies finding their way in, and even water damage can all happen from something as simple as a worn seal. Why You Shouldn’t Ignore a Worn Garage Door Seal, and many homeowners later regret not fixing it sooner.
That’s why learning how to replace garage door weatherstripping is such a smart move. It’s not only a money-saving tip but also a preventive maintenance habit that keeps your garage door working like it should. Some people think of it as a “minor fix,” but in reality, it’s one of those fixes that keeps other, more expensive problems from showing up.
The Importance of the Garage Door Seal
That black rubber or vinyl strip at the bottom of your garage door isn’t just for looks—it’s your first line of defense. It keeps rain from sneaking under, keeps rodents out, and helps your garage maintain a more stable temperature. If you’ve got a bedroom or a home office above or next to the garage, you’ll notice a real difference in energy bills too.
I’ve talked with a trusted garage door expert in Durham who mentioned, “People underestimate the seal. They’ll call me for a $400 repair on their door opener, but ignore the $30 seal that could’ve stopped half the issues in the first place.” That’s the reality. A simple piece of weatherstripping is protecting everything stored in your garage—your car, your tools, or even the washer and dryer.
Signs That Your Seal Needs Replacing
It’s easy to spot when the seal is giving up. A few obvious clues include:
- Cracks that look like dried mud lines on the rubber.
- The material feels brittle or stiff when pressed.
- You see daylight coming through the bottom of the door.
- Water puddles inside the garage after a heavy rain.
- Small insects (or worse, a mouse!) making surprise appearances.
Personally, I once ignored a little crack in mine until a lizard showed up in my garage. That was enough motivation to grab a new seal the next day.
A Brief DIY Guide to Seal Replacement
Now, let’s say you want to tackle how to replace garage door weatherstripping on your own. The process is straightforward, and you don’t need fancy tools. Here’s a simple breakdown:
- Open the garage door fully so you can work without it pressing on the ground.
- Remove the old seal by pulling it out of the track (most slide right out).
- Clean the track—dirt, rust, or debris will stop the new one from fitting properly.
- Cut the new weatherstripping to the right length. Many come in 16-foot rolls, so you’ll need a utility knife.
- Insert the new seal by sliding it into the track. A little dish soap or WD-40 helps it glide easier.
- Close the door and check the fit. Make sure no gaps are left along the bottom.
If you get stuck, many reliable hardware stores sell “universal” weatherstripping kits that include both the rubber and instructions. A professional-quality seal will usually last 5–10 years depending on climate.
When to Call a Professional
DIY is great, but sometimes it’s not enough. If your garage door frame is rotting, or if you spot rust on the bottom panel, replacing the seal won’t fix the real issue. That’s when calling a professional makes sense. A trusted, reliable garage door technician can spot hidden damage that might turn into expensive repairs later.
There’s also the safety side. If while changing the seal you notice the door springs look loose or you hear a loud snap—stop. Garage door springs are dangerous. For problems like that, check out this guide on how to know if your garage door spring is broken.
If you’re in Durham and unsure who to call, this resource may help: 5 Professional Garage Door Services Recommendation in Durham, NC.
A Real-Life Example Why You Shouldn’t Ignore a Worn Garage Door Seal
One homeowner I met had ignored their cracked weatherstripping for almost a year. Rainwater slowly seeped into their garage and damaged a set of wooden cabinets. By the time they noticed the mold, the repair cost was over $2,000. The kicker? The new seal that could have prevented it cost only $28. That’s the type of expensive mistake you don’t want to repeat.
Conclusion: Don’t Put Off Small Fixes
Learning how to replace garage door weatherstripping might feel like a weekend chore, but it’s actually one of the best money-saving habits a homeowner can adopt. Small maintenance steps prevent bigger headaches, whether that’s keeping pests away or avoiding water damage.
If your garage door is squeaky, this guide might help. If your opener suddenly stops, here’s what to do when your garage door opener is not working. And if you’re curious about budgeting, check the average cost of garage door repair in Durham, NC.
At the end of the day, regular maintenance is a smart financial move. Don’t wait until the problem grows bigger. Start with the simple fixes—like your garage door seal.
How often should I replace garage door weatherstripping?
On average, every 5 to 8 years, depending on climate. In hot or damp areas, it may wear faster.
Can I use any type of rubber for my garage door seal?
It’s best to use professional-grade weatherstripping designed for garage doors. Universal kits usually fit most models.
Is replacing garage door weatherstripping difficult?
Not really. If you can use a screwdriver and utility knife, you can probably handle it. But if the track is damaged, call a pro.
If you found this helpful, please share this post with your friends on social media using the share buttons below. It might save them from an unexpected repair bill.
Visit ProServiceTips.com for more trusted garage door advice

